Add Authentication to your Application
We’ll be adding authentication to our app so users can be created, logged in, and signed out.
We’ll be adding both authorization and authentication to this app - let’s quickly define both:
Authorization - Allows users to have different actions they can take, e.g. only admins can update blog posts or only data creators can viewable.
Authentication - Make sure someone is what they say, such as by asking them to enter a password.
Instruct
-
Click Authentication in Setup. You can configure different login mechanisms, properties, password protection, and more. using the form provided. Select the default configuration, then click Deploy.

After your deployment is done, run
amplify pullin your CLI to synchronize the changes with your local application. -
In the App.js component, we will use the With
Authenticatorfunction to require the user to login to view the page. It will also implement the user creation process.
-
First, import the ingredients:
import { withAuthenticator } from '@aws-amplify/ui-react' -
Then on your output line, wrap the Application component in a function:
export default withAuthenticator(App)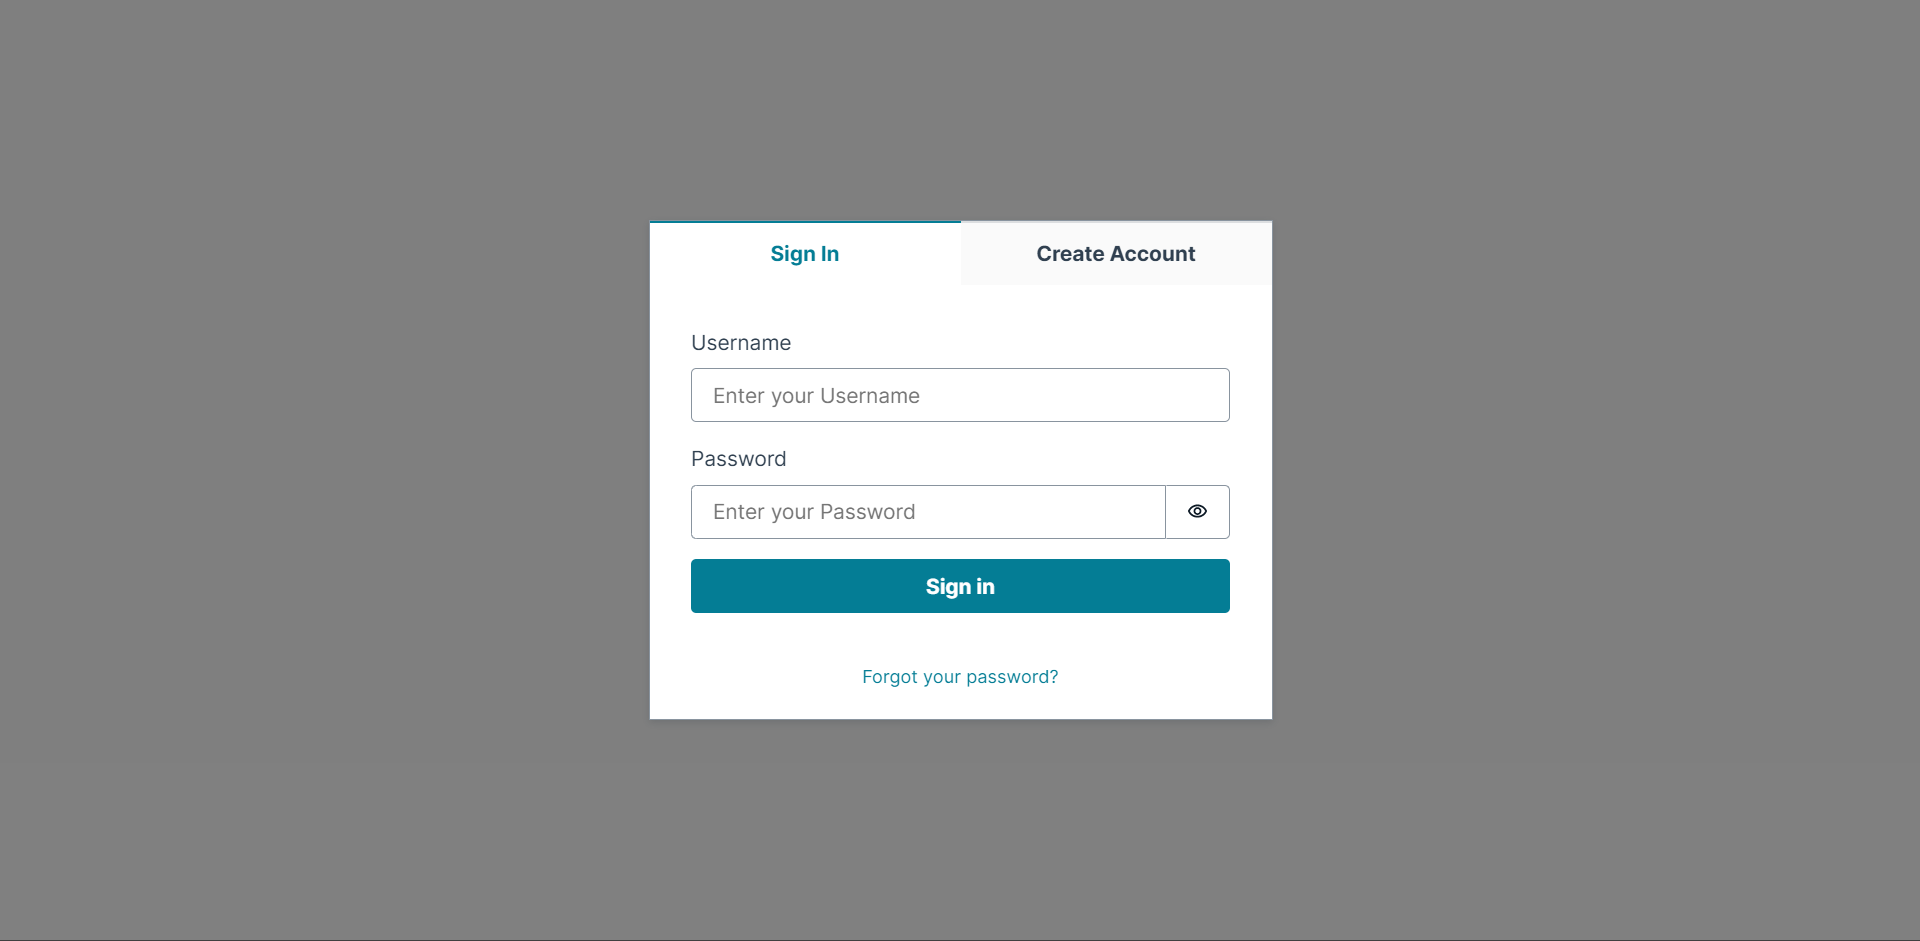 If you return to your app, you’ll need to sign in to view your page.
-
Implement the logout button! The
withAuthenticatorfunction passes a signOut function (and user information) to the component it wraps as a prop. Let’s destroy it:function App ({ signOut }) { -
In the
NavBarcomponent that runs the function when the Sign Out button is clicked.<NavBar marginBottom='20px' width='100%' overrides={{ Button31502513: { onClick: () => setShowCreateModal(true) }, Button31502517: { onClick: async() => { signOut() } } }} />We now have a full authentication flow for our application.