Hosting Your First AWS Amplify and React App UI
Instruct
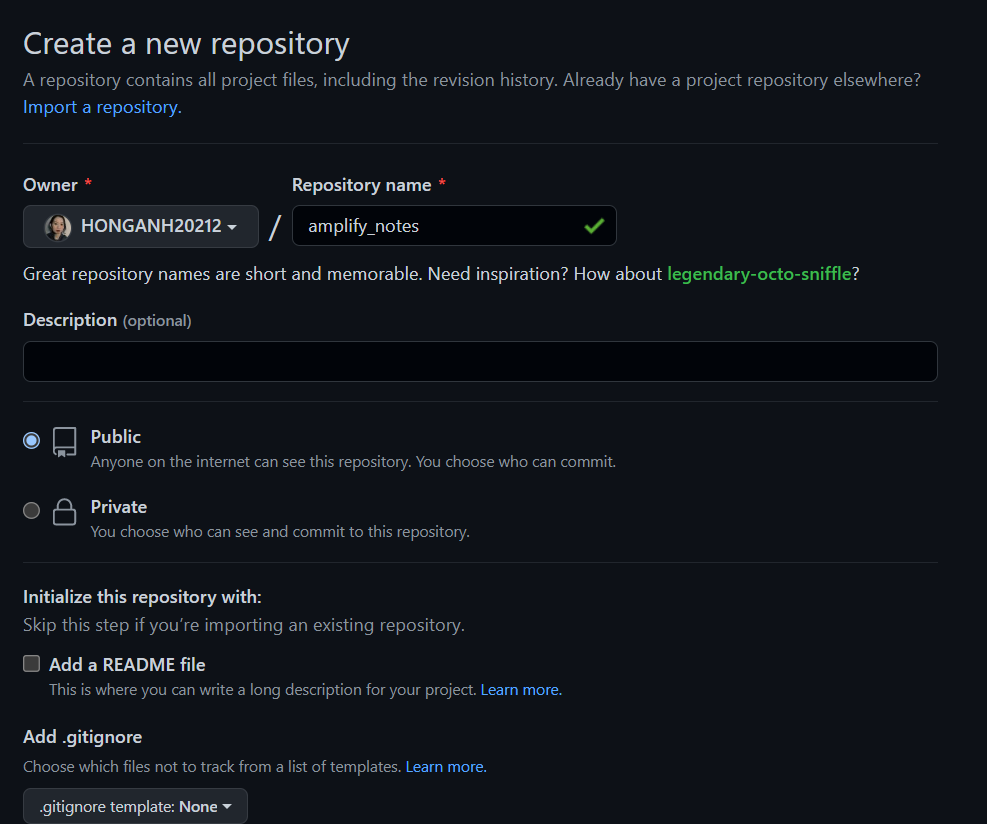
First, create a GitHub repository for your app.
-
Go to the new repo page and add a name. Then click Create Repository.
-
Push your code to GitHub. ```
 git add .

 git commit -m "Amplify Studio tutorial"

 git remote add origin YOUR_REPO_URL

 git push -u origin main
 ```
-
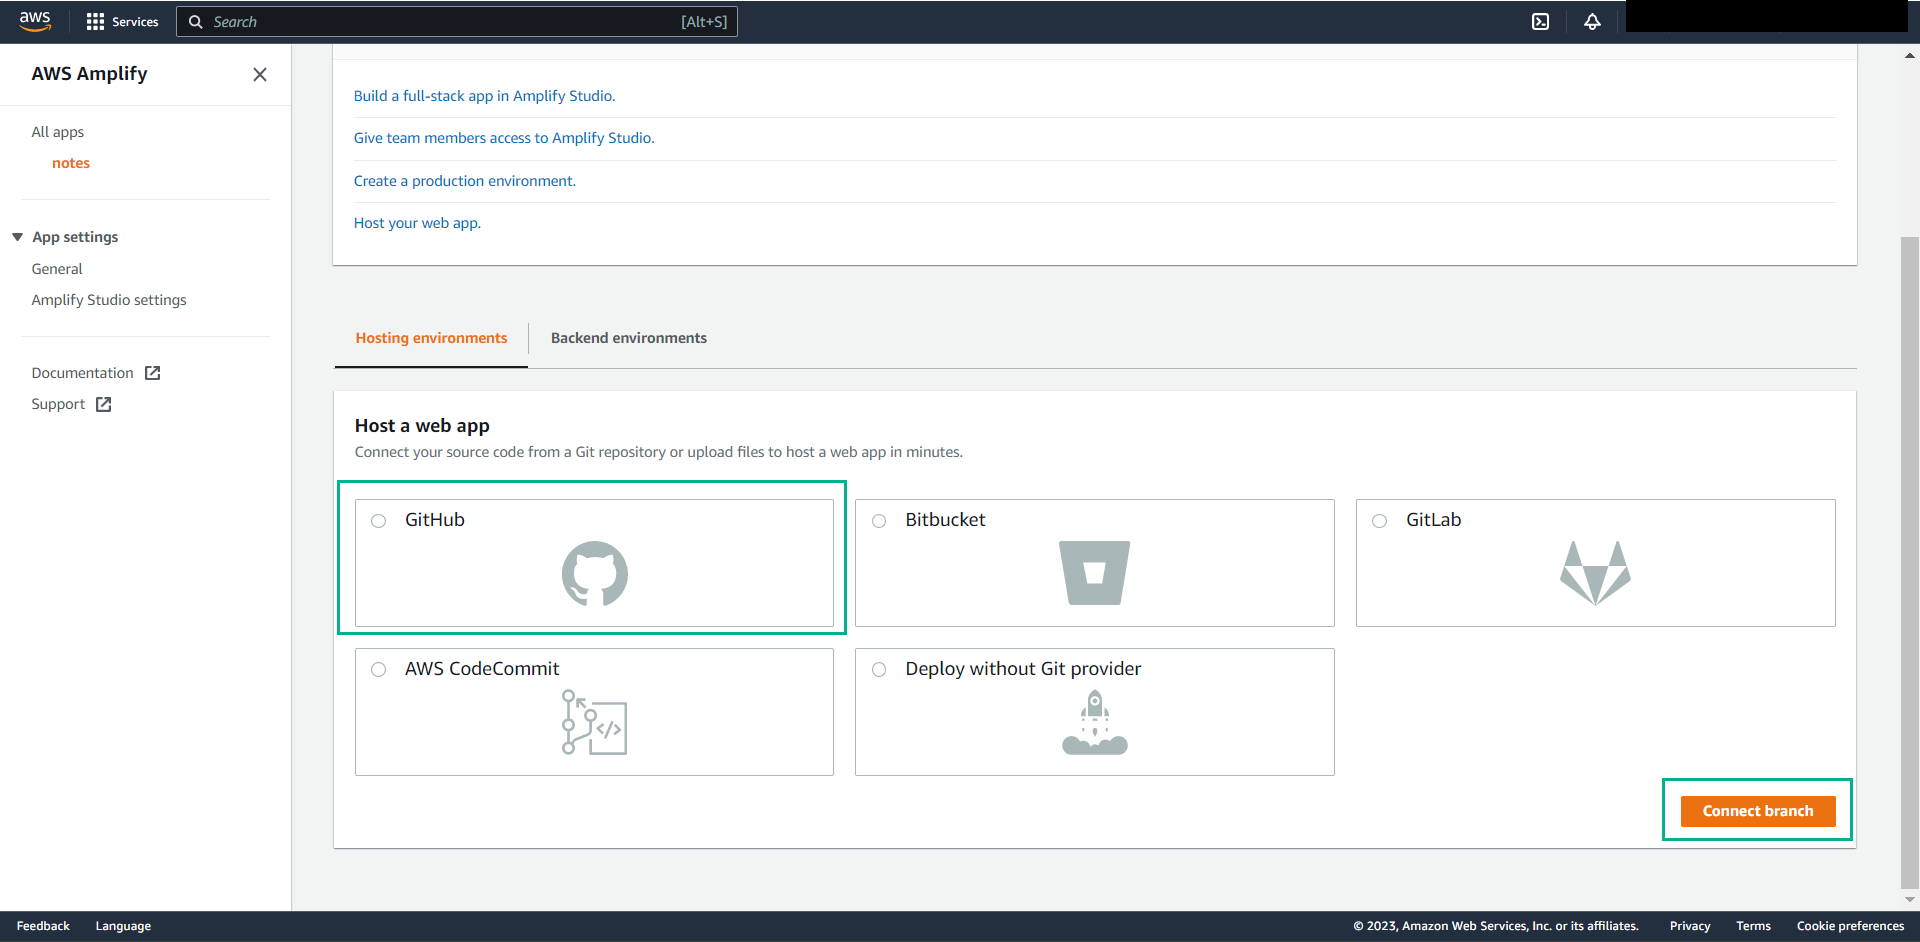
Go to AWS Amplify Console . Select the Amplifier app you’re building, then click it. Switch to Hosting environmentstab, select GitHub, then click Connect Branch.
-
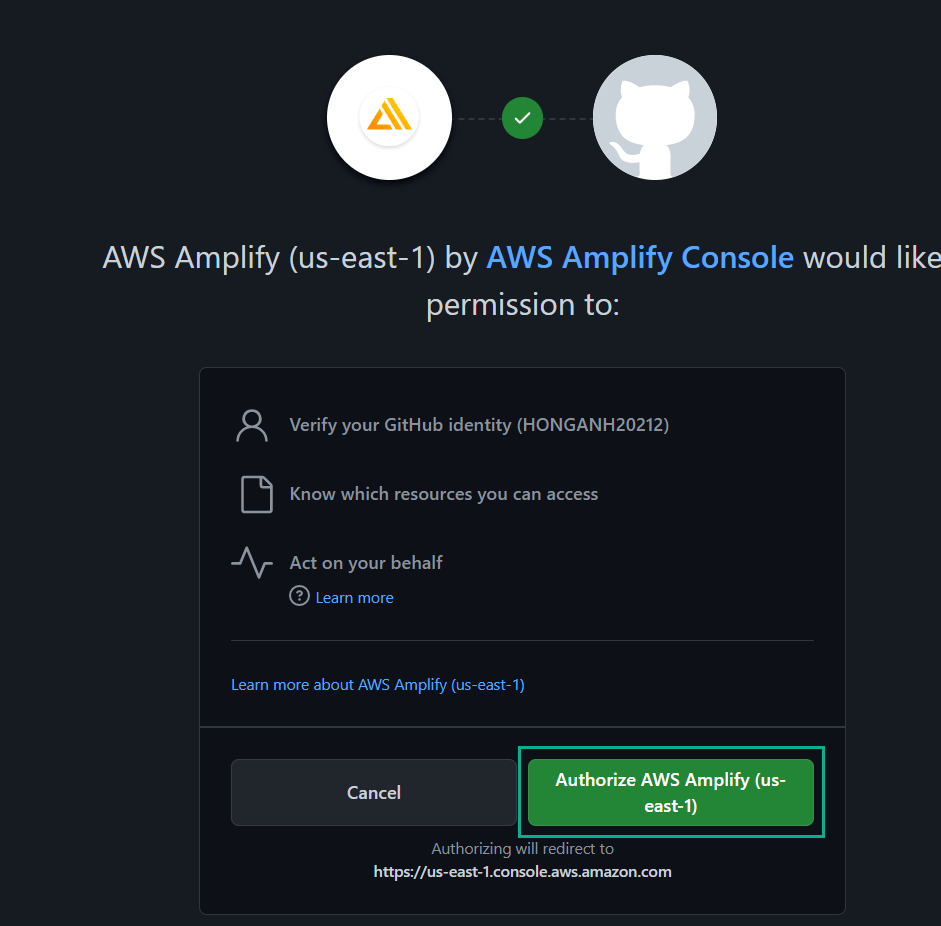
Give GitHub permission when you are prompted.
-
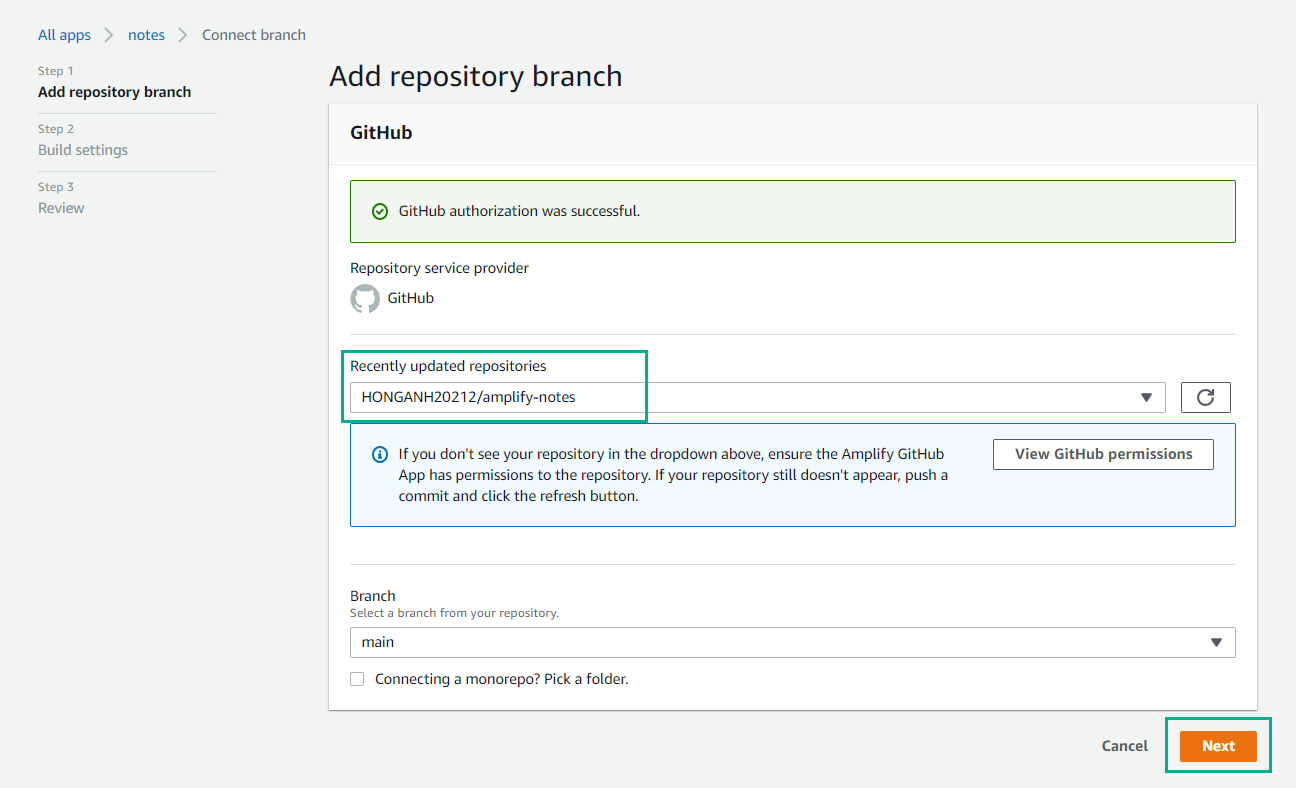
Then in the drop-down list select your repository. Also select the branch you want to deploy to. Then click “Next”
-
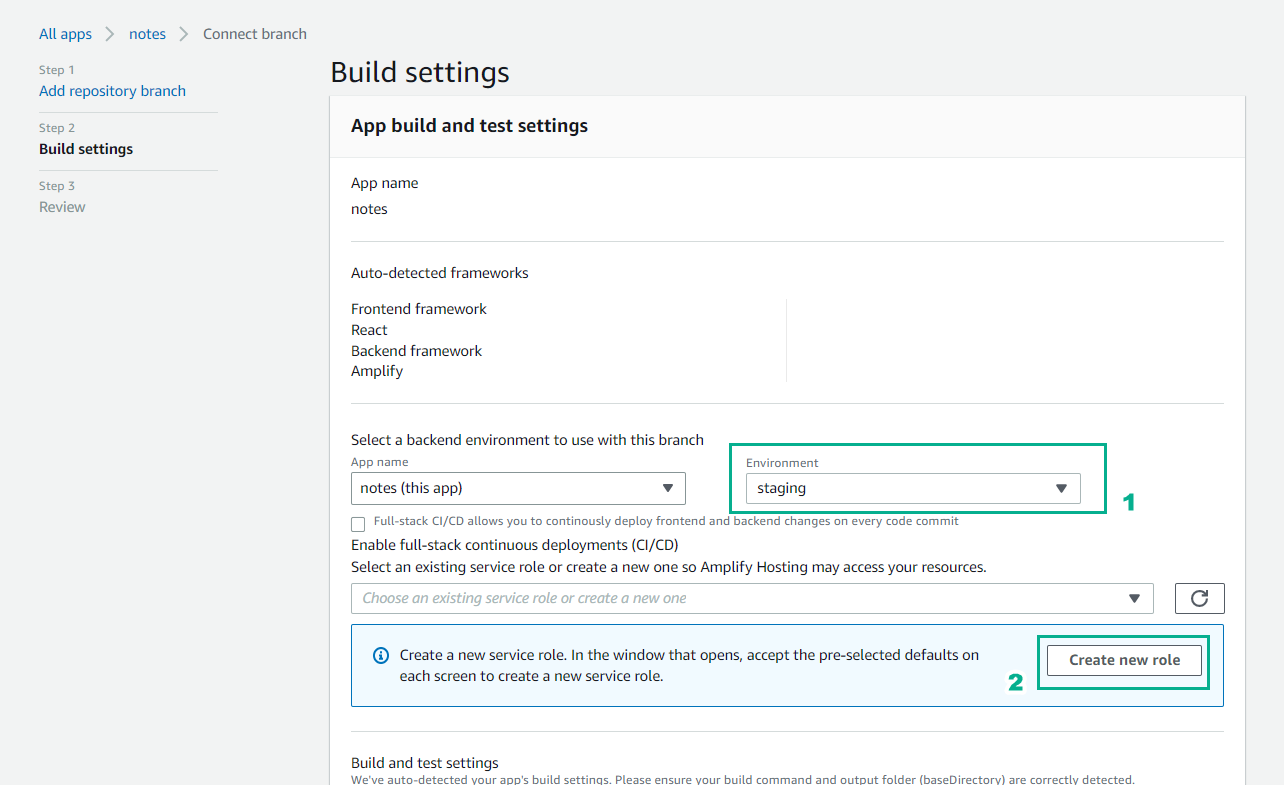
select the “staging” backend environment. Click Create New Role.
-
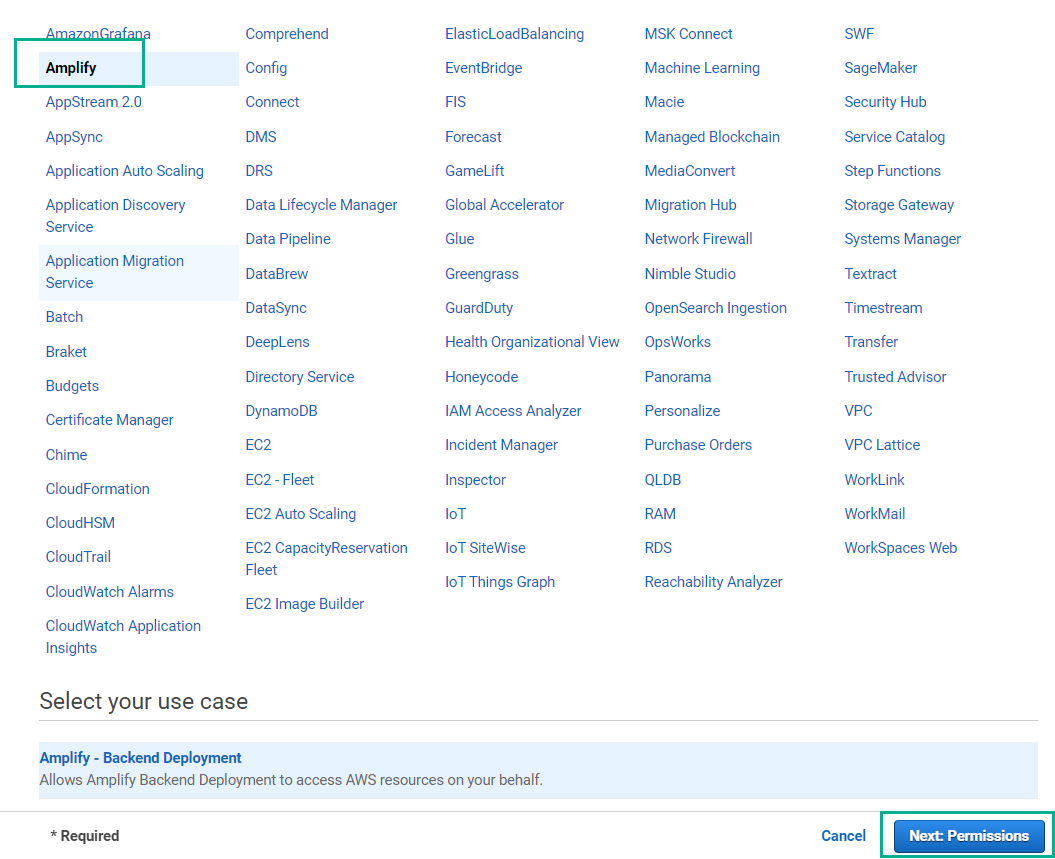
Next tap each screen.
-
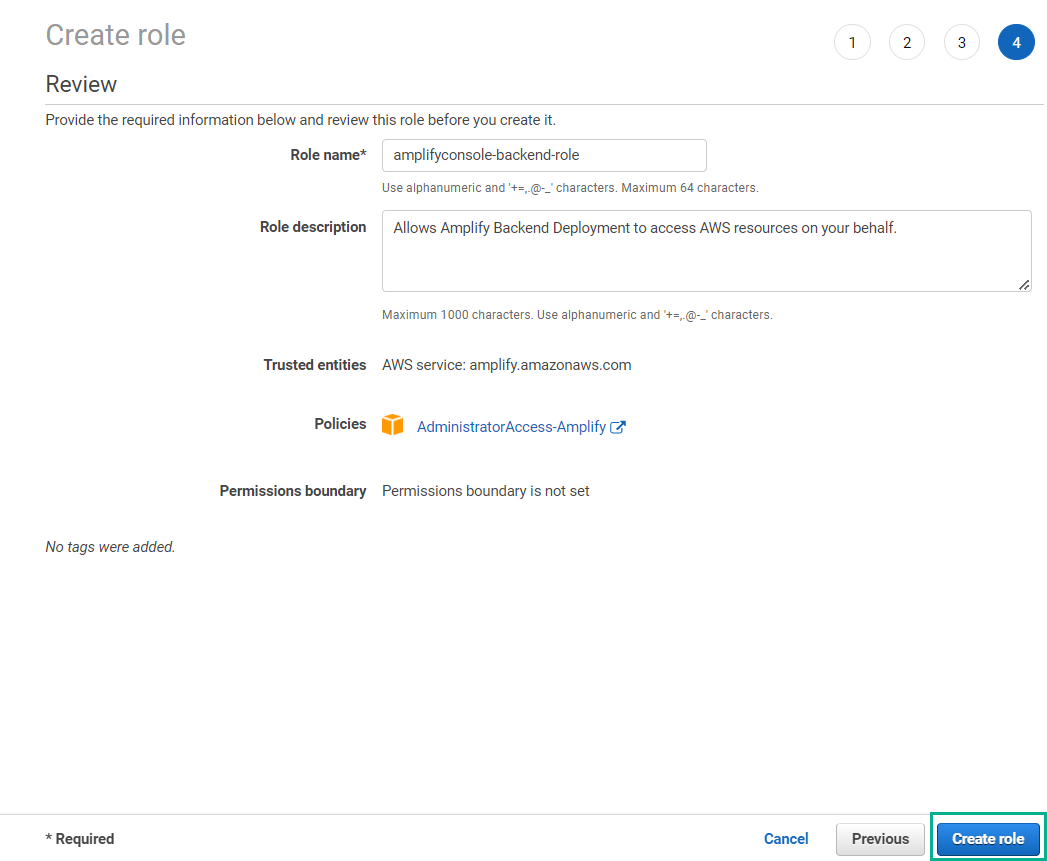
Click Create Role
-
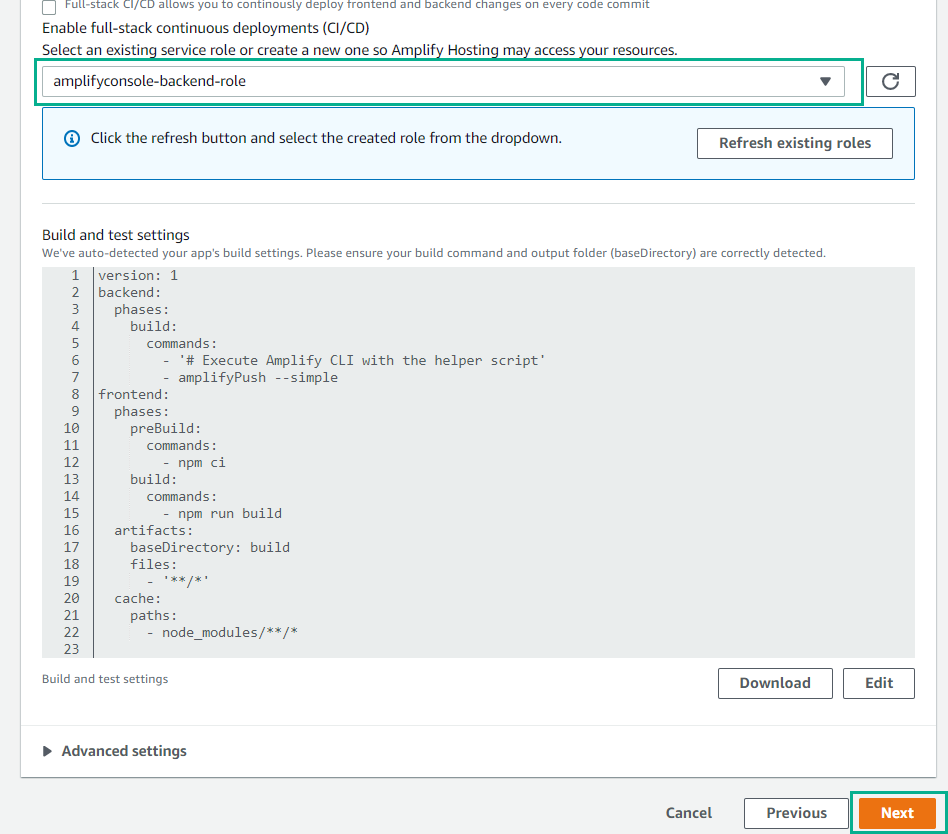
Then return to Amplify’s Archive page and select your role Click Next.
-
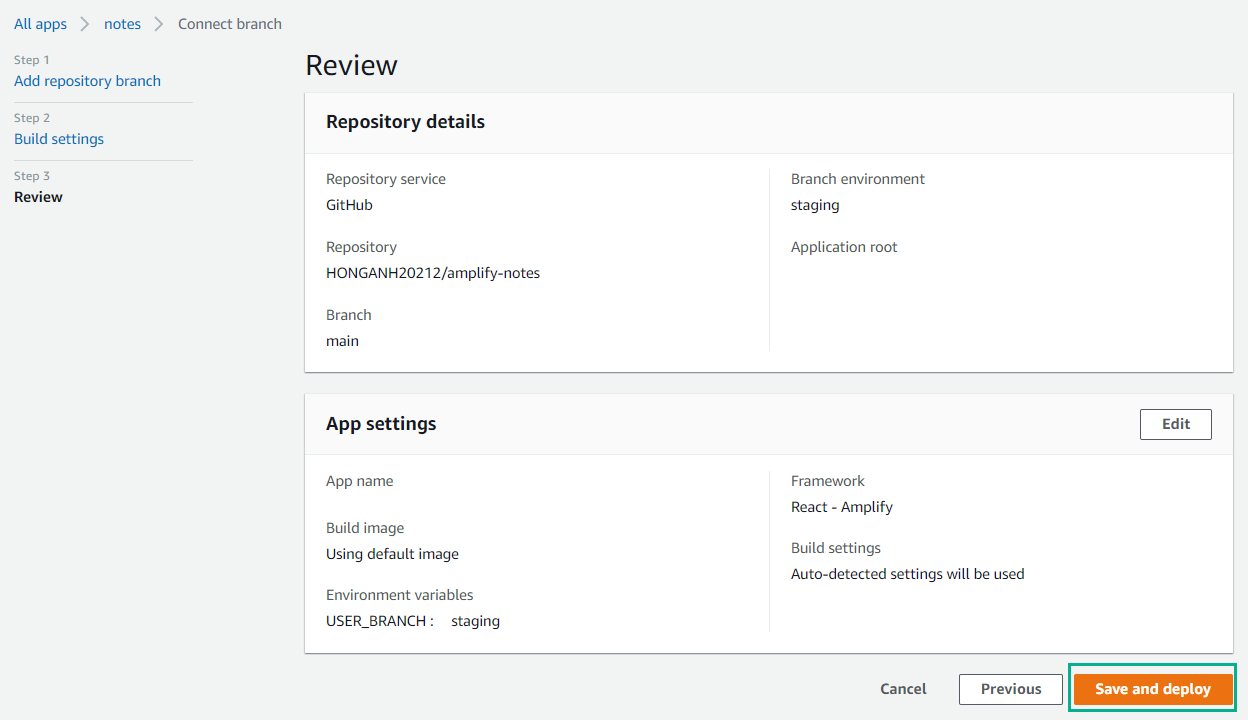
Click Save and Deploy.
-
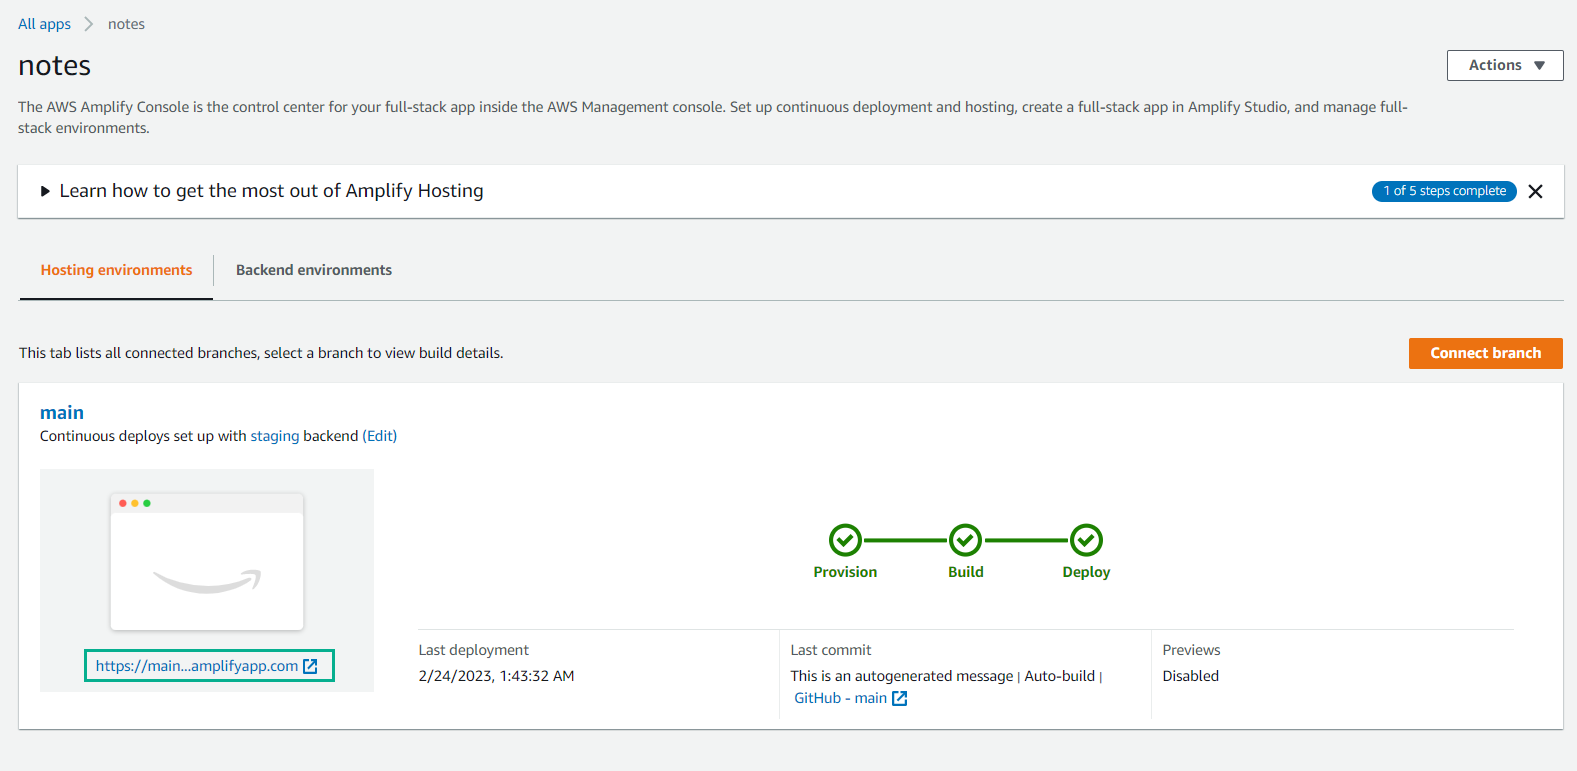
After a few minutes, you should see a checkbox that says your app is deployed!
-
You can click the URL to view or share your app. From here you can add a custom domain, set up pull request previews, and control access.
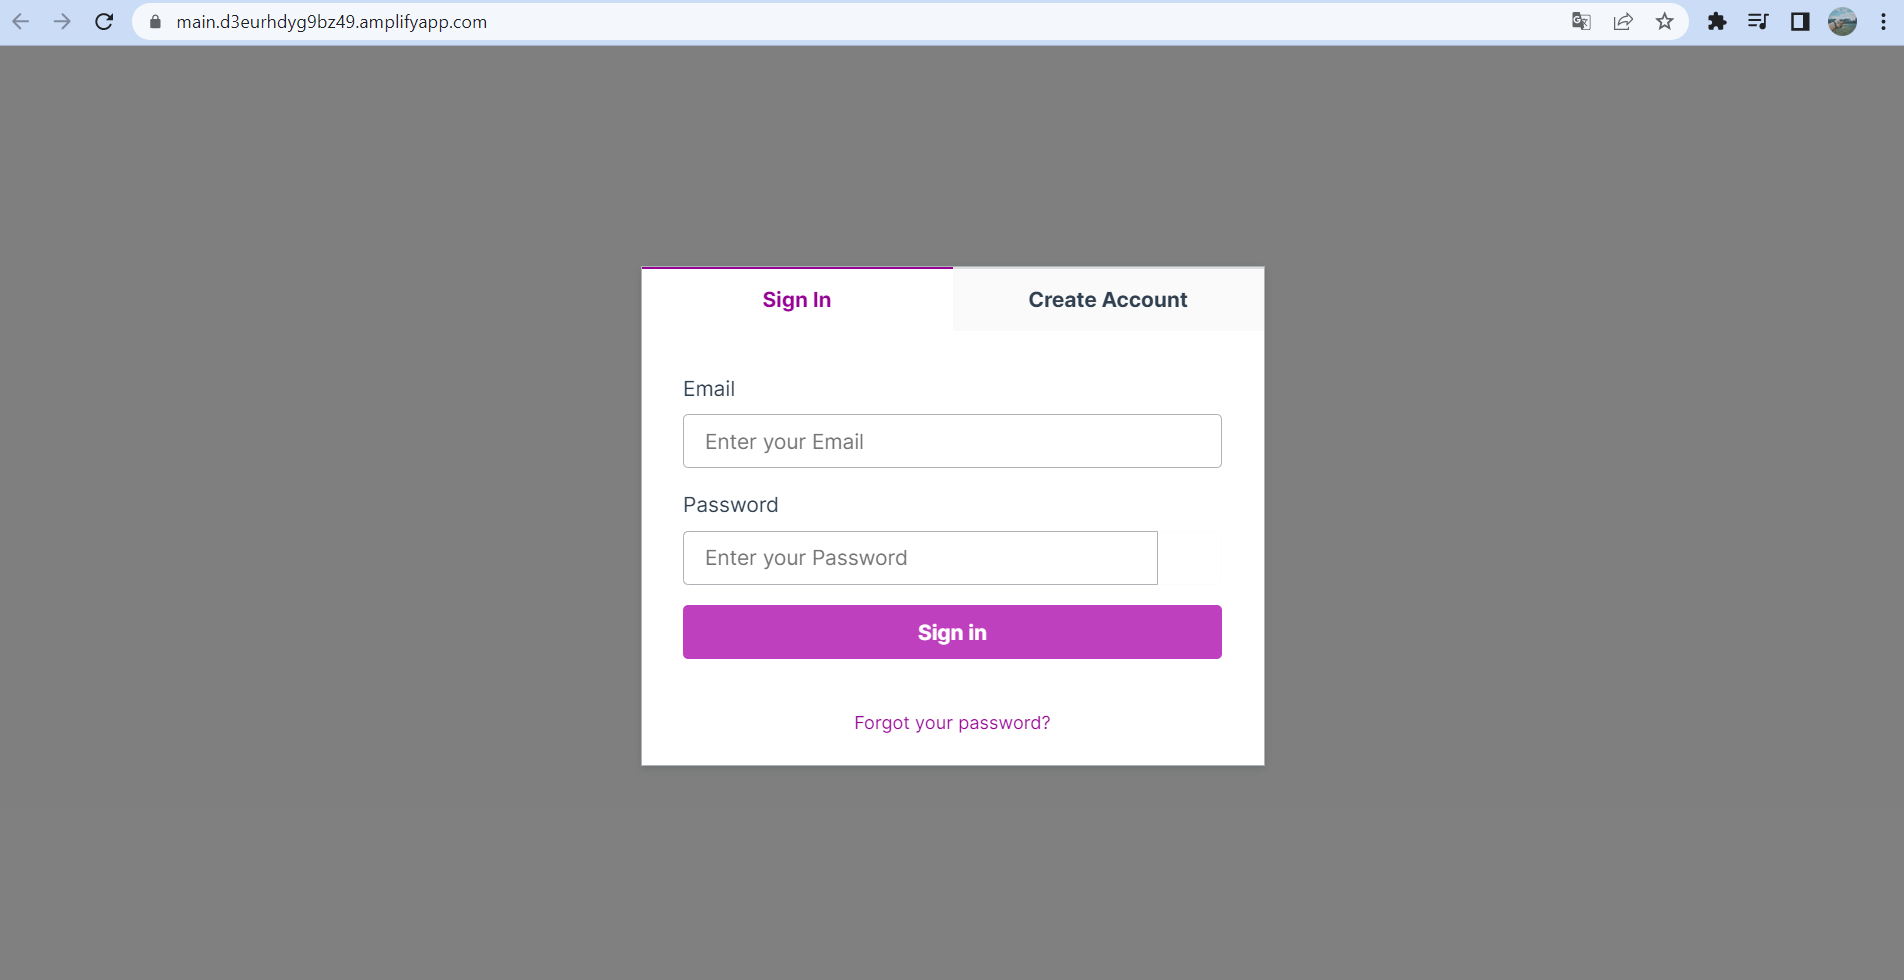
Now, both your application frontend and backend are deployed to AWS.